> ## Documentation Index
> Fetch the complete documentation index at: https://docs.data-wizard.ai/llms.txt
> Use this file to discover all available pages before exploring further.
# Quick Start
> Data Wizard is designed to be easy to install and deploy in various environments. This guide will walk you through the installation process and help you get started with your first data extraction task.
## Get Started using Docker
Before running the Docker container, you need to generate a random `APP_KEY` for your Data Wizard instance. This key is used for encryption and security purposes. Please note the `base64:` prefix.
Run the following command to generate a random `APP_KEY`:
```bash theme={null}
openssl rand -base64 32
```
**Make sure to use the `-base64` flag.**
When using your generated key later, make sure to also prefix it with `base64:` like this:
```bash theme={null}
APP_KEY=base64:aaaaaaaaaaaaaaaaaaaaaaaaaaaaaaaaaaaaaaaaaaa=
```
```bash theme={null}
docker run \
--name data-wizard \
-p 9090:80 \
-p 4430:443 \
-p 4430:443/udp \
-v data_wizard_storage:/app/storage \
-v data_wizard_sqlite_data:/app/database \
-v data_wizard_caddy_data:/data \
-v data_wizard_caddy_config:/config \
-e APP_KEY=base64:[REPLACE_WITH_KEY] \
mateffy/data-wizard:latest
```
| Option | Description |
| ---------------------------------------------------------- | ---------------------------------------------------------------------------------------------------------------------------- |
| `-p 9090:80`,
`-p 4430:443`,
`-p 4430:443/udp` | Maps ports on your host machine to ports in the container for HTTP and HTTPS access. |
| `-v ...:...` | Creates named volumes for persistent storage of application files, SQLite database, and Caddy server data and configuration. |
| `-e APP_KEY=[APP_KEY]` | Sets the `APP_KEY` environment variable, essential for application security. |
```yaml theme={null}
version: '3.8'
services:
data-wizard:
name: data-wizard
image: mateffy/data-wizard:latest
ports:
- "9090:80"
- "4430:443"
- "4430:443/udp"
volumes:
- data_wizard_storage:/app/storage
- data_wizard_sqlite_data:/app/database
- data_wizard_caddy_data:/data
- data_wizard_caddy_config:/config
environment:
- APP_KEY=base64:[REPLACE_WITH_KEY]
volumes:
data_wizard_storage:
data_wizard_sqlite_data:
data_wizard_caddy_data:
data_wizard_caddy_config:
```
Then run the following command in the same directory as your `docker-compose.yml` file:
```
docker-compose up
```
Once the container is running, open your web browser and navigate to `https://localhost:4430`. You might see a
warning about an invalid HTTPS certificate because it's a self-signed certificate for local development. You can
safely ignore this warning for local testing.
## Initial Configuration
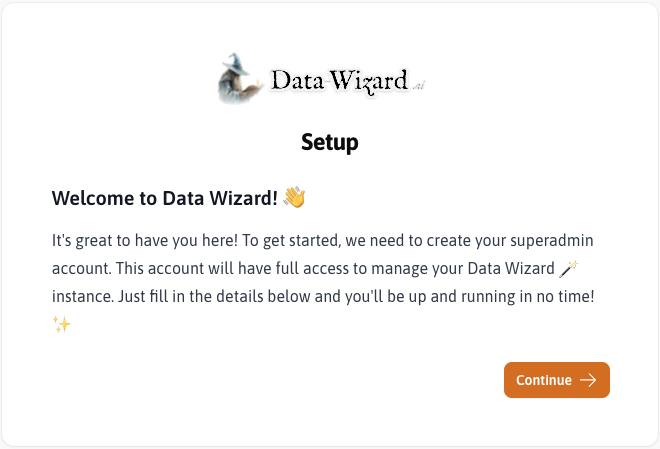
The first time you access Data Wizard, you will be greeted with a setup screen. This confirms you have
successfully installed Data Wizard.
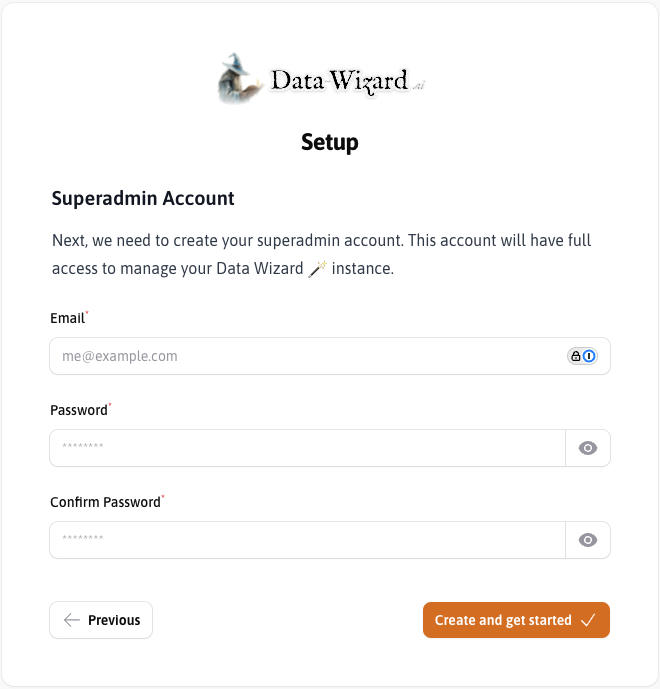
 Fill in the required details (Email, Password, Confirm Password) to create your superadmin account. This account
will have full access to manage your Data Wizard instance.
Fill in the required details (Email, Password, Confirm Password) to create your superadmin account. This account
will have full access to manage your Data Wizard instance.
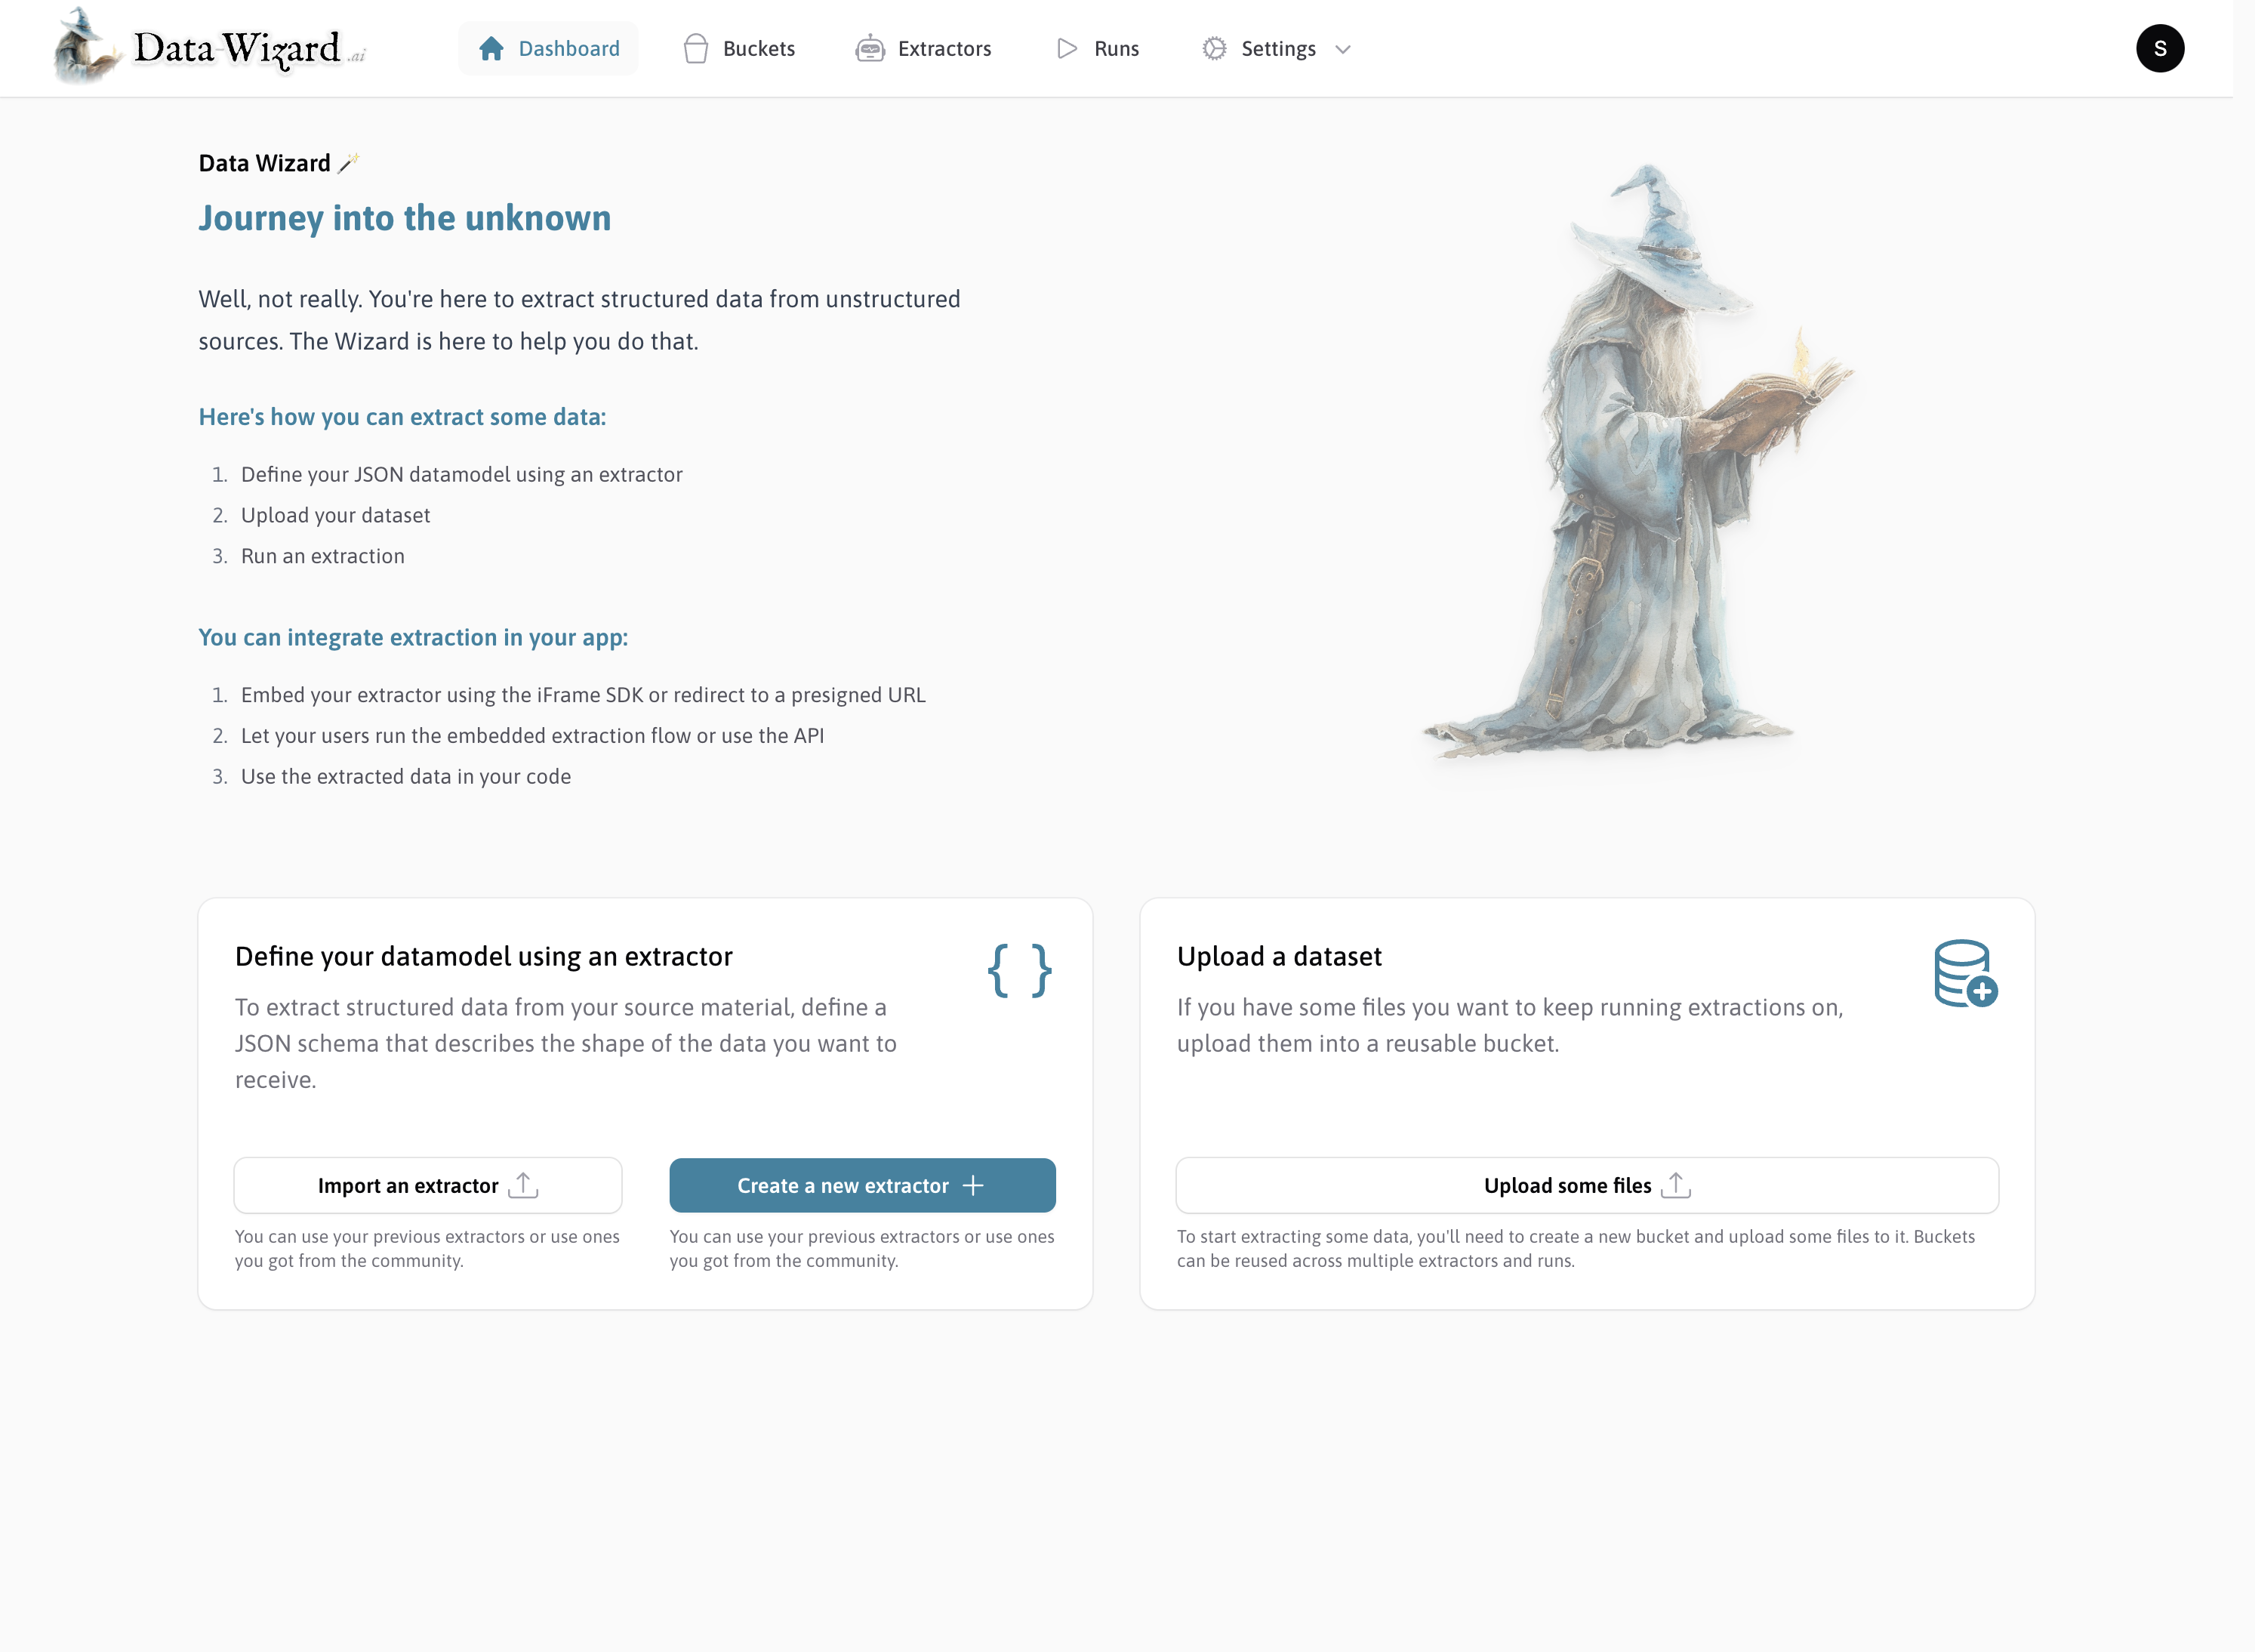
 After creating the superadmin account, you are ready to start using Data Wizard! You can now log in with your
newly created credentials and begin configuring extractors and running data extractions.
After creating the superadmin account, you are ready to start using Data Wizard! You can now log in with your
newly created credentials and begin configuring extractors and running data extractions.
**Next Steps**
Step by step guide to extract data from documents using Data Wizard.
Learn how to define and configure data extraction tasks.
Understand different data processing strategies.
Set up your Large Language Model API keys.
Embed Data Wizard into other applications using iFrames or APIs.